How to Make Pour Over Coffee: V60 Technique
The pour over technique is a great way to make a delicious tasting cup of coffee with minimal equipment and without spending hundreds on an expensive machine. The technique itself is fairly simple; essentially you are just slowly pouring hot water over coffee grounds through a paper filter. However, the key to getting a perfectly extracted coffee using this technique is all about timings.
This specific technique was developed by coffee expert James Hoffman and it’s, in my opinion, the best method I’ve tried for extracting the full flavour from your beans. Here is the step by step guide on how to make pour over coffee.
Equipment Needed:

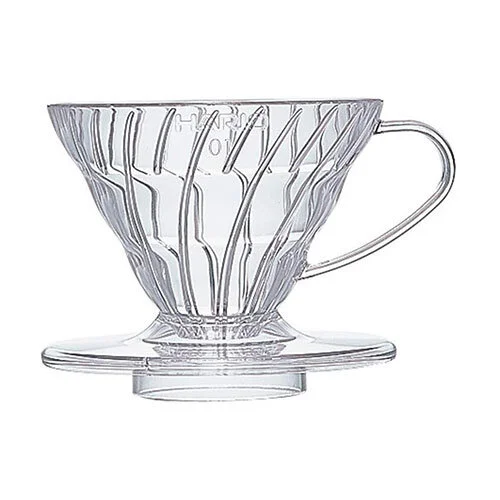
V60 Filter
V60's tend to be made of plastic, glass or ceramic material and when choosing between them there is very little benefit as to which one you use. This is only really down to personal preference.

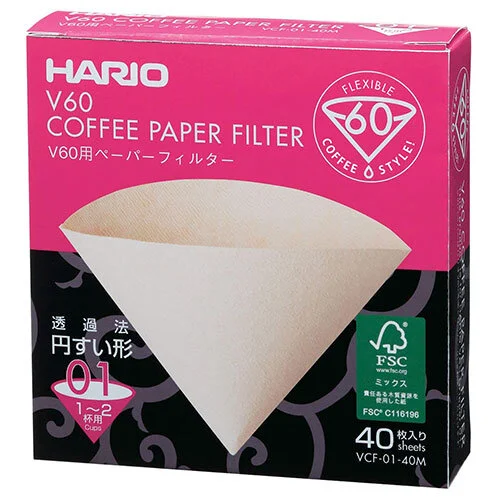
Paper Filters
These are available as bleached or unbleached. Unbleached paper filters are better for the environment but you will need to make sure you wet it before use to remove any paper taste when brewing.

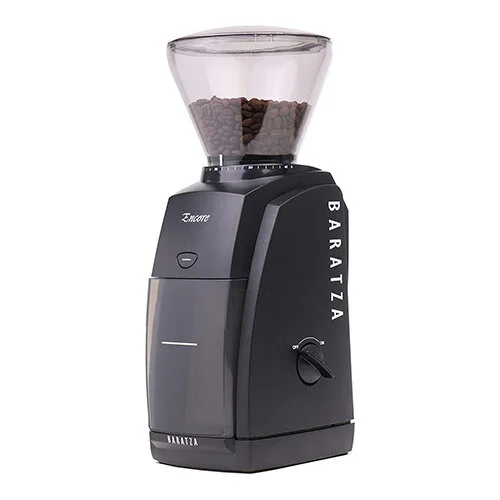
Burr Coffee Grinder (Electric or Hand)
This is the most important part of your setup. A burr coffee grinder is highly recommended compared to a blade grinder. The Baratza Encore is a very popular choice.

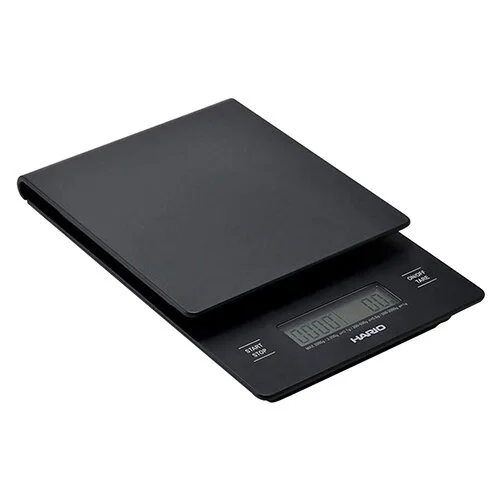
Scales (with 0.1 Increments)
A kitchen scale can be used but for more accuracy and precision I would recommend a scale designed specifically for coffee brewing.

Timer
Some scales have timers built-in which is very useful however if you don't have this then I would recommend just using your phone.
Recipe
Grind
A key parameter that you will need to measure and tweak when using this method is the grind size. You will want to start with a medium-fine grind (around 55 on the Sage Smart Grinder Pro) and then adjust your grind based on how long it takes to brew. If it takes much longer than 3:30 minutes, grind more coarse, if it’s much less than 3:30 minutes grind finer.
Brew Ratio
The brew ratio will be approximately 30g:500ml. So if you use 30 grams of ground coffee you should aim to product 500ml of coffee. You can adjust this accordingly depending on how much coffee you would like to brew. If I'm brewing just one cup I'll aim for a 16g:265ml ratio.
Water Temperature
When deciding on the water temperature, it's best to make it as hot as possible (95 degrees Celsius or higher). In this technique, James explains that for lighter roasts you will need a particularly high temperature to help with the extraction.
Technique
When pouring, pour in a circular motion starting from the centre of the grounds and working your way towards the edge. This will ensure you cover all of the coffee.


Step 1: Preparation
Place the filter paper inside your V60 and pour a small amount of water on to the paper to rinse any paper taste out.
Then pour away the rinse water and place your V60 on top of your mug/container on a set of scales.
Pour your coffee grounds into the middle of the filter and use your finger to create a small well in the centre. This helps to ensure you evenly saturate all of the grounds.

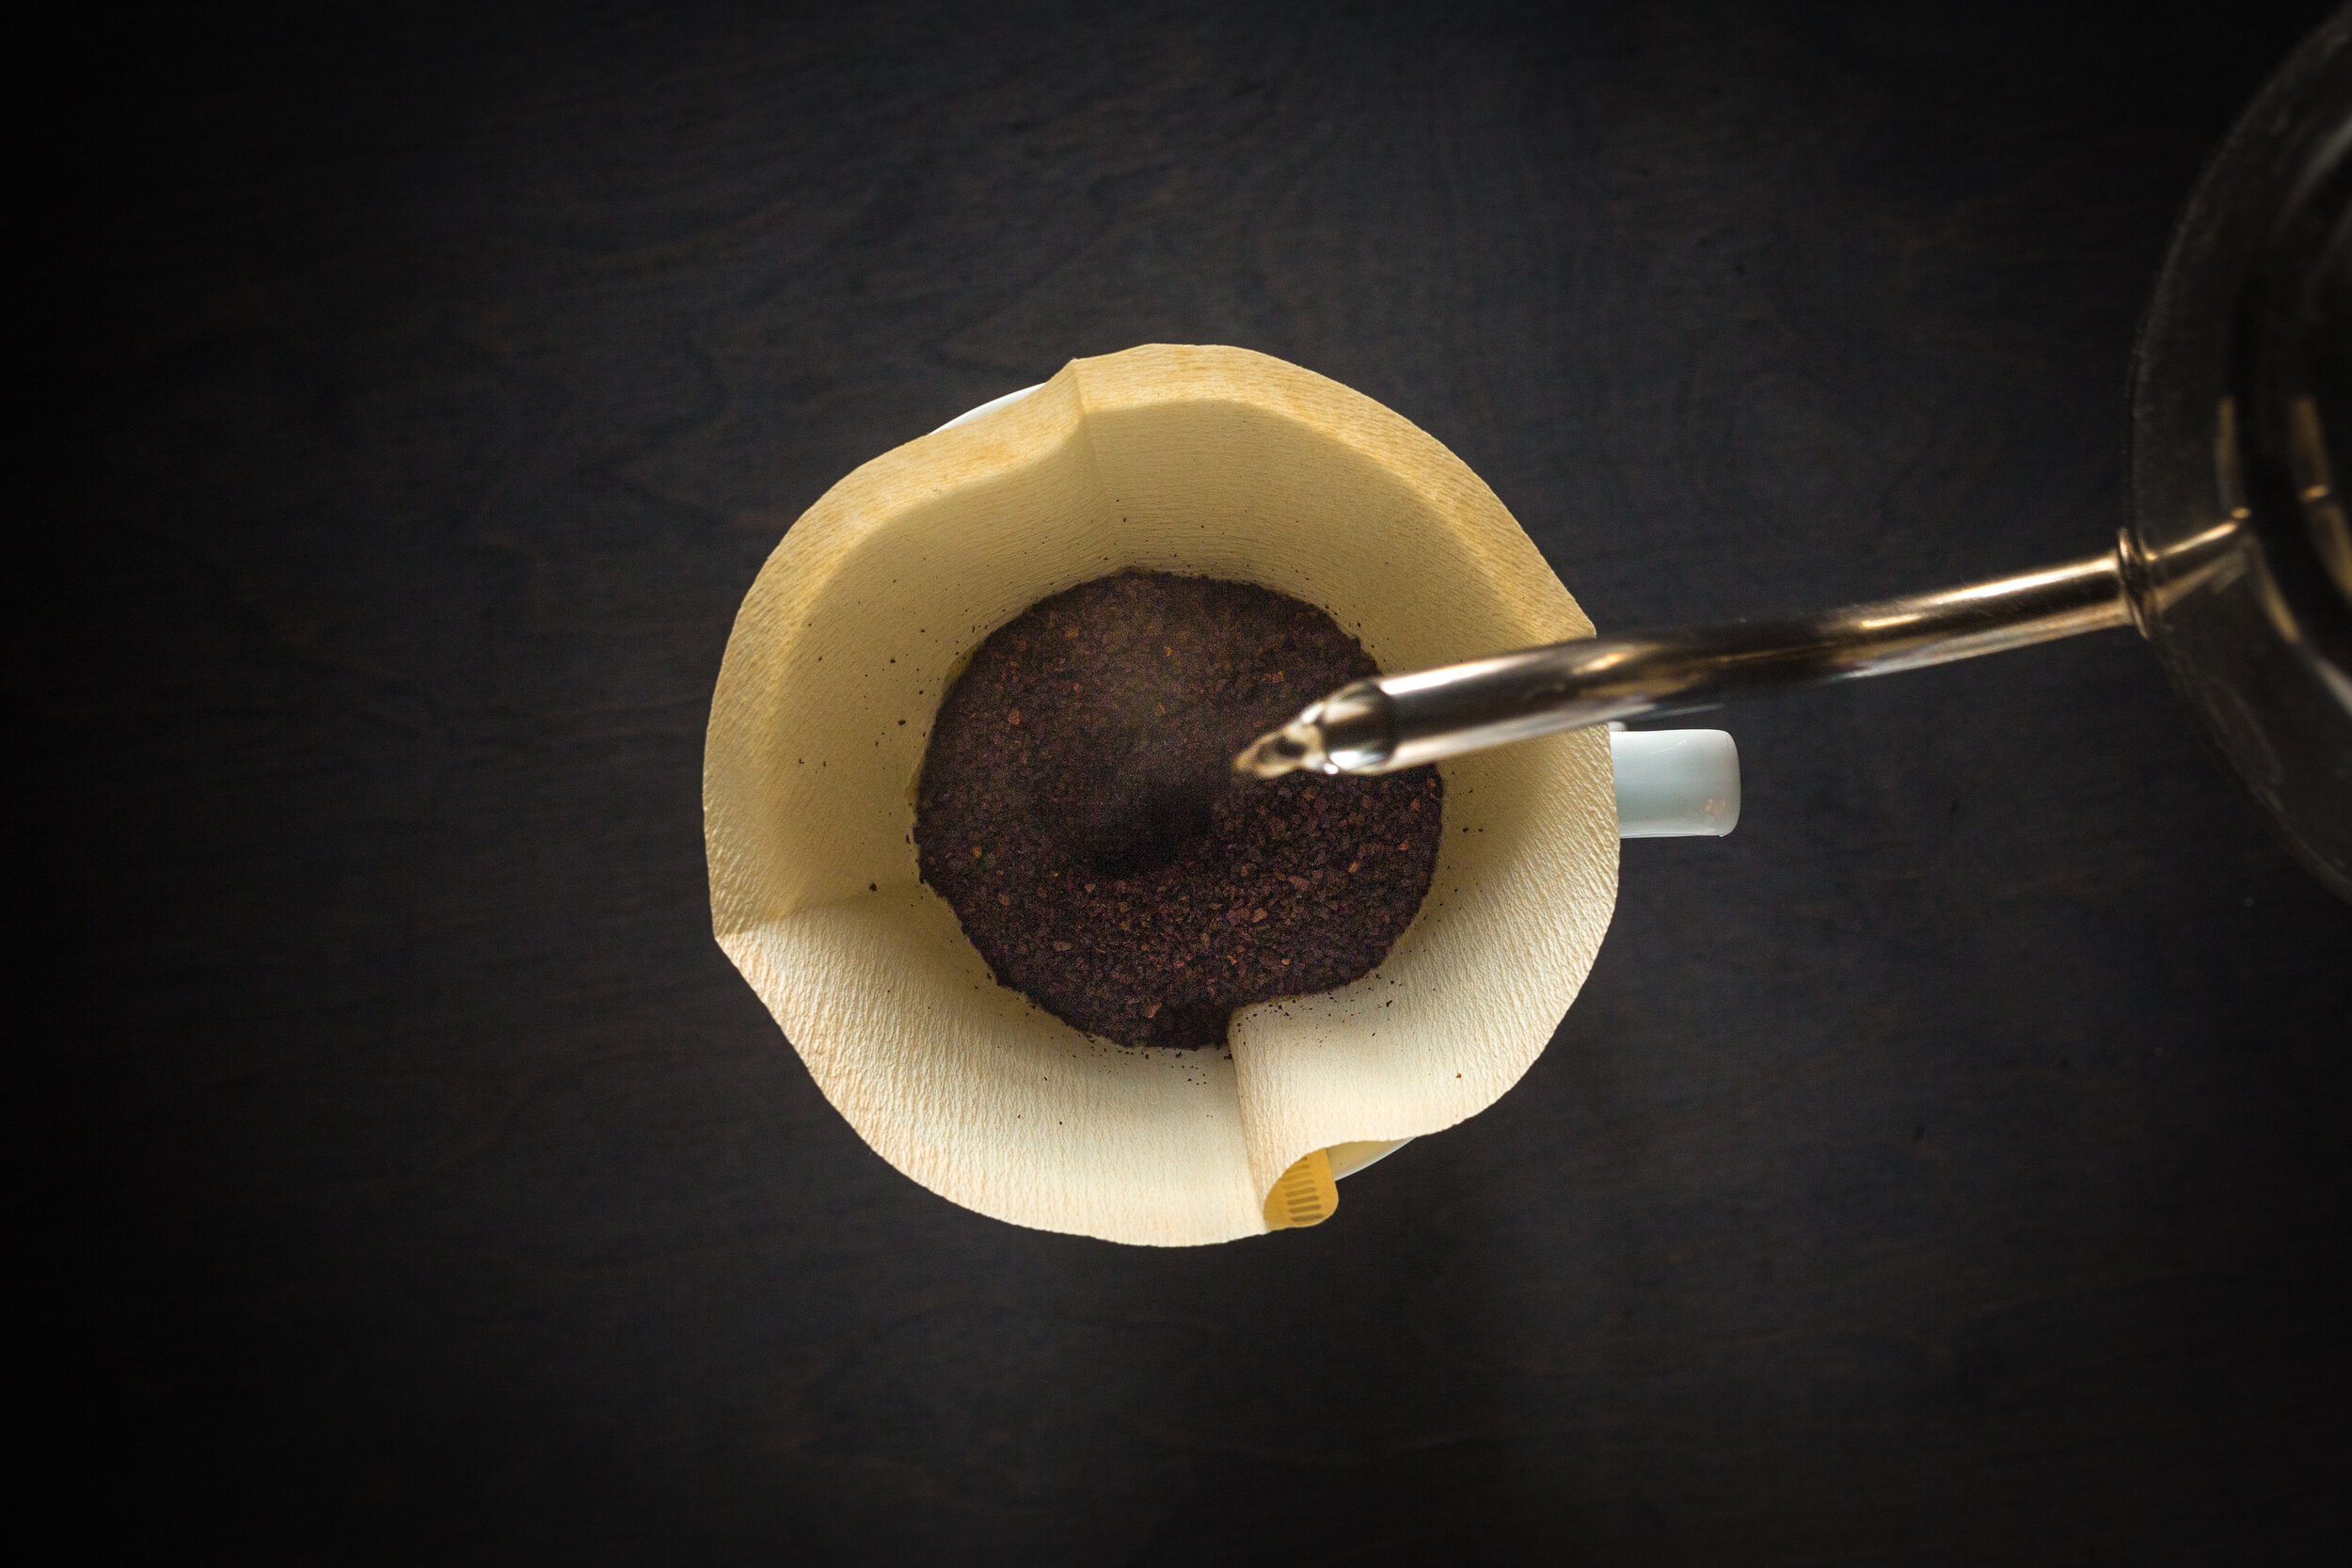
Step 2: Blooming Phase (0:00 - 0:45)
Pour enough water to cover all of your grounds or approximately double the weight of the coffee in water (60g).
Start in the centre of your well and pour in circular motions until you saturate all of the grounds.
Now swirl the V60 in a circular motion to mix the grounds and water together. Then wait for 30-45 seconds. You may notice a few bubbles appear which demonstrates the C02 being released from the coffee for a better extraction.
Step 3: Second Phase (0:45 - 1:15)
In this phase, you will aim to pour 60% of the total brew weight (300g) in the next 30 seconds. As you've already poured 60g in the blooming phase, you should look to pour 240g to bring it to the 300g total.
Step 4: Third Phase (1:15 - 1:45)
Next, you will need to pour the remaining water to reach the 500 gram total weight within the next 30 seconds which will be 200g. This time pour a little slower than the previous phases.

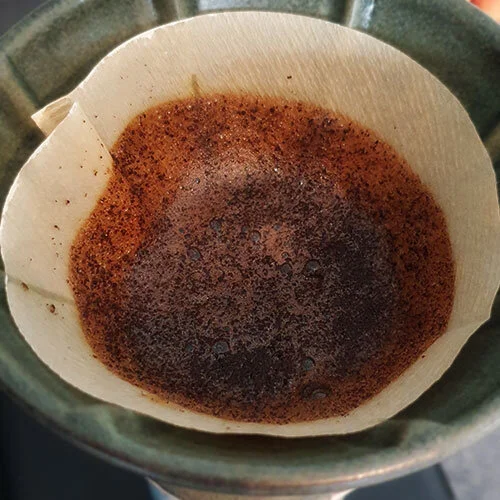
Step 5: Drawdown Phase (1:45 - 3:30)
After you've poured the final 200g of water, gently stir the top of the water clockwise then anticlockwise to remove any grounds stuck to the side-wall. Try not to create a long-lasting swirl as this will make a dome in the coffee which we don't want.
Now you can let the remaining water filter through the coffee. This should finish by 3:30 minutes (this will be faster if your water is hotter).
Those were the steps for making pour over coffee and now you can enjoy your freshly brewed coffee.
At the end of the day, it’s all about the taste, so if you find your coffee tasting under or over-extracted, you can adjust the ratio and brew time until you hit that sweet spot.
It’s also worth bearing in mind that the type of coffee you use and even the freshness of your beans can impact the flavour so you may need to periodically adjust your parameters.
By following this method, you should be able to optimise your pour over brew and extract a full-bodied flavour from your beans.
Extraction Tips: If the coffee tastes sour and salty, this means that your coffee is under-extracted and you will need to grind finer. If it tasted bitter and hollow, you will need to grind more coarse as it's been over-extracted.
Alternatives

Using a V60 is a very popular choice because it’s easy to use, small and compact to store, and also can be used to brew your coffee directly into your mug. However, there are different tools available to use instead of a V60 when making pour over coffee.

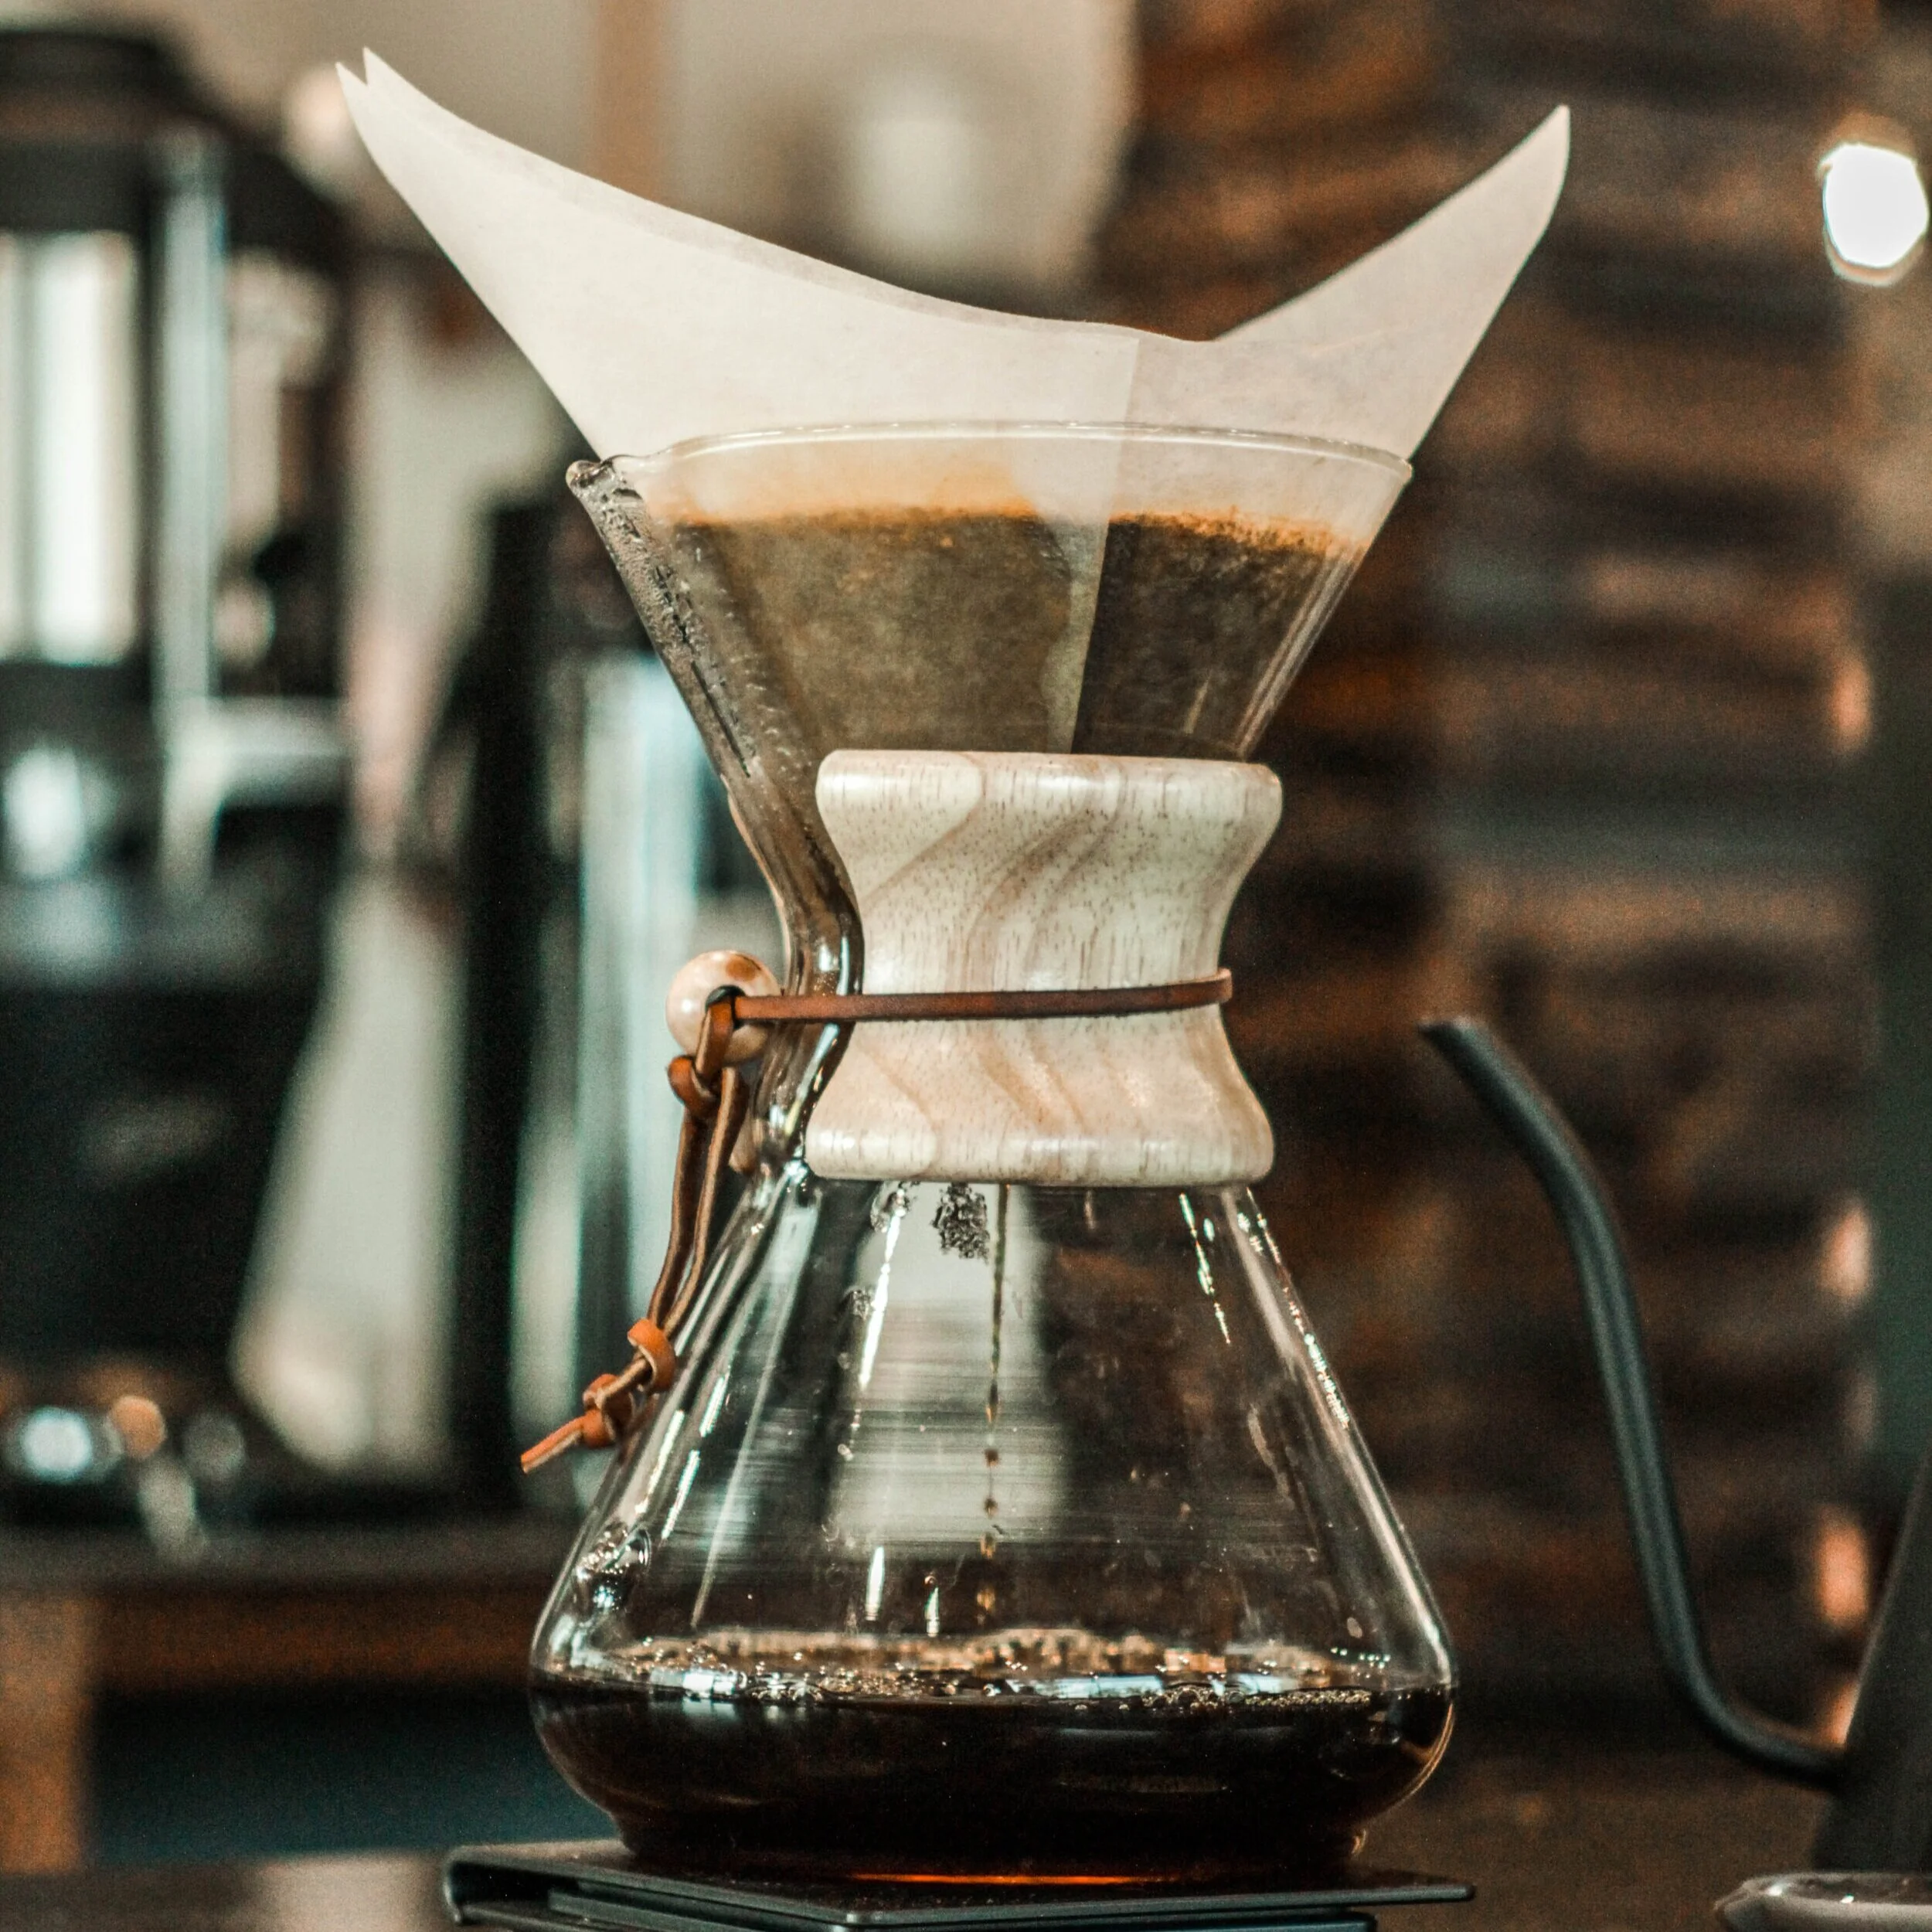
One of the most popular pieces of equipment is the iconic Chemex.
The Chemex has a very recognisable design and is essentially a glass brewing with the top half holding the filter and the bottom containing the brew.
You can apply the same brewing method as the above when using the Chemex.
One of the key benefits of using a Chemex filter is that you can brew coffee for multiple cups at once, perfect for when family and friends are over. It also looks great too!

Another popular tool for making pour over coffee is the Kalita Wave.
This works in a similar way to the V60 however instead of a single hole in the bottom, it has a flat bottom with three holes.
This helps eliminate channelling and therefore give you a consistently well extracted coffee.
There is no right or wrong method of brewing your pour over coffee so you should choose the tool that you personally like the best. It’s worth trying all three and making your own conclusion as to which brews the best cup of coffee.
By using the pourover technique mentioned above, you should be able to brew a well-extracted, full-bodied cup of coffee using either the V60, Chemex or the Kalita Wave.