How to Use a Stove Top Coffee Pot: Moka Pot Guide
If you are looking for a relatively inexpensive espresso maker that doesn't take up much countertop space and is highly portable, then the Moka pot may be a good choice for you. The iconic Italian coffee maker can brew a delicious, strong tasting espresso to give you your morning coffee fix.
You can purchase the stovetop espresso maker in various sizes depending on how many cups you want to brew for and they all follow the same brewing technique. People often struggle to create a non-bitter tasting cup of coffee when using the Moka pot so I've put this guide together to help you get a great tasting espresso from your stovetop espresso maker.
Equipment Needed
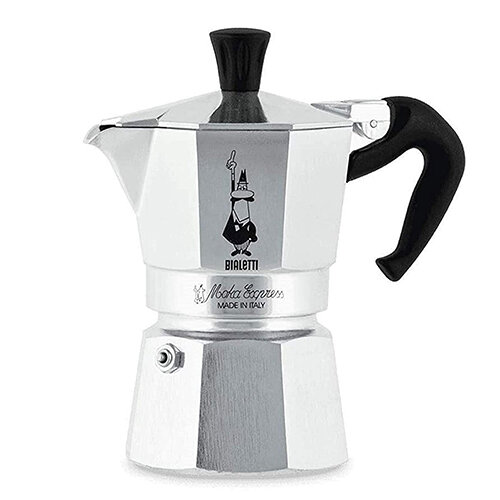
Moka Pot
When choosing a Moka pot, you will have multiple sizes to chose from depending on the number of cups you are brewing.
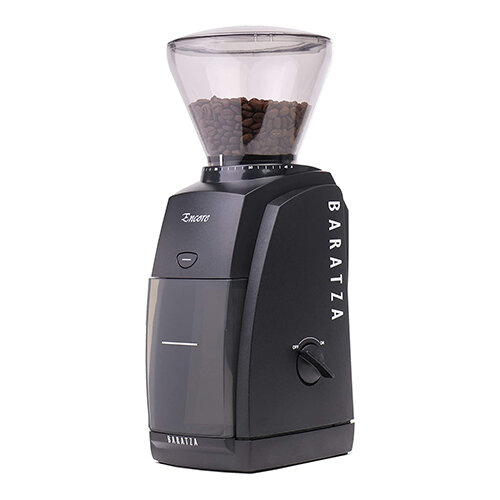
Burr Coffee Grinder (Electric or Hand)
This is the most important part of your setup. A burr coffee grinder is highly recommended compared to a blade grinder. The Baratza Encore is a very popular choice.
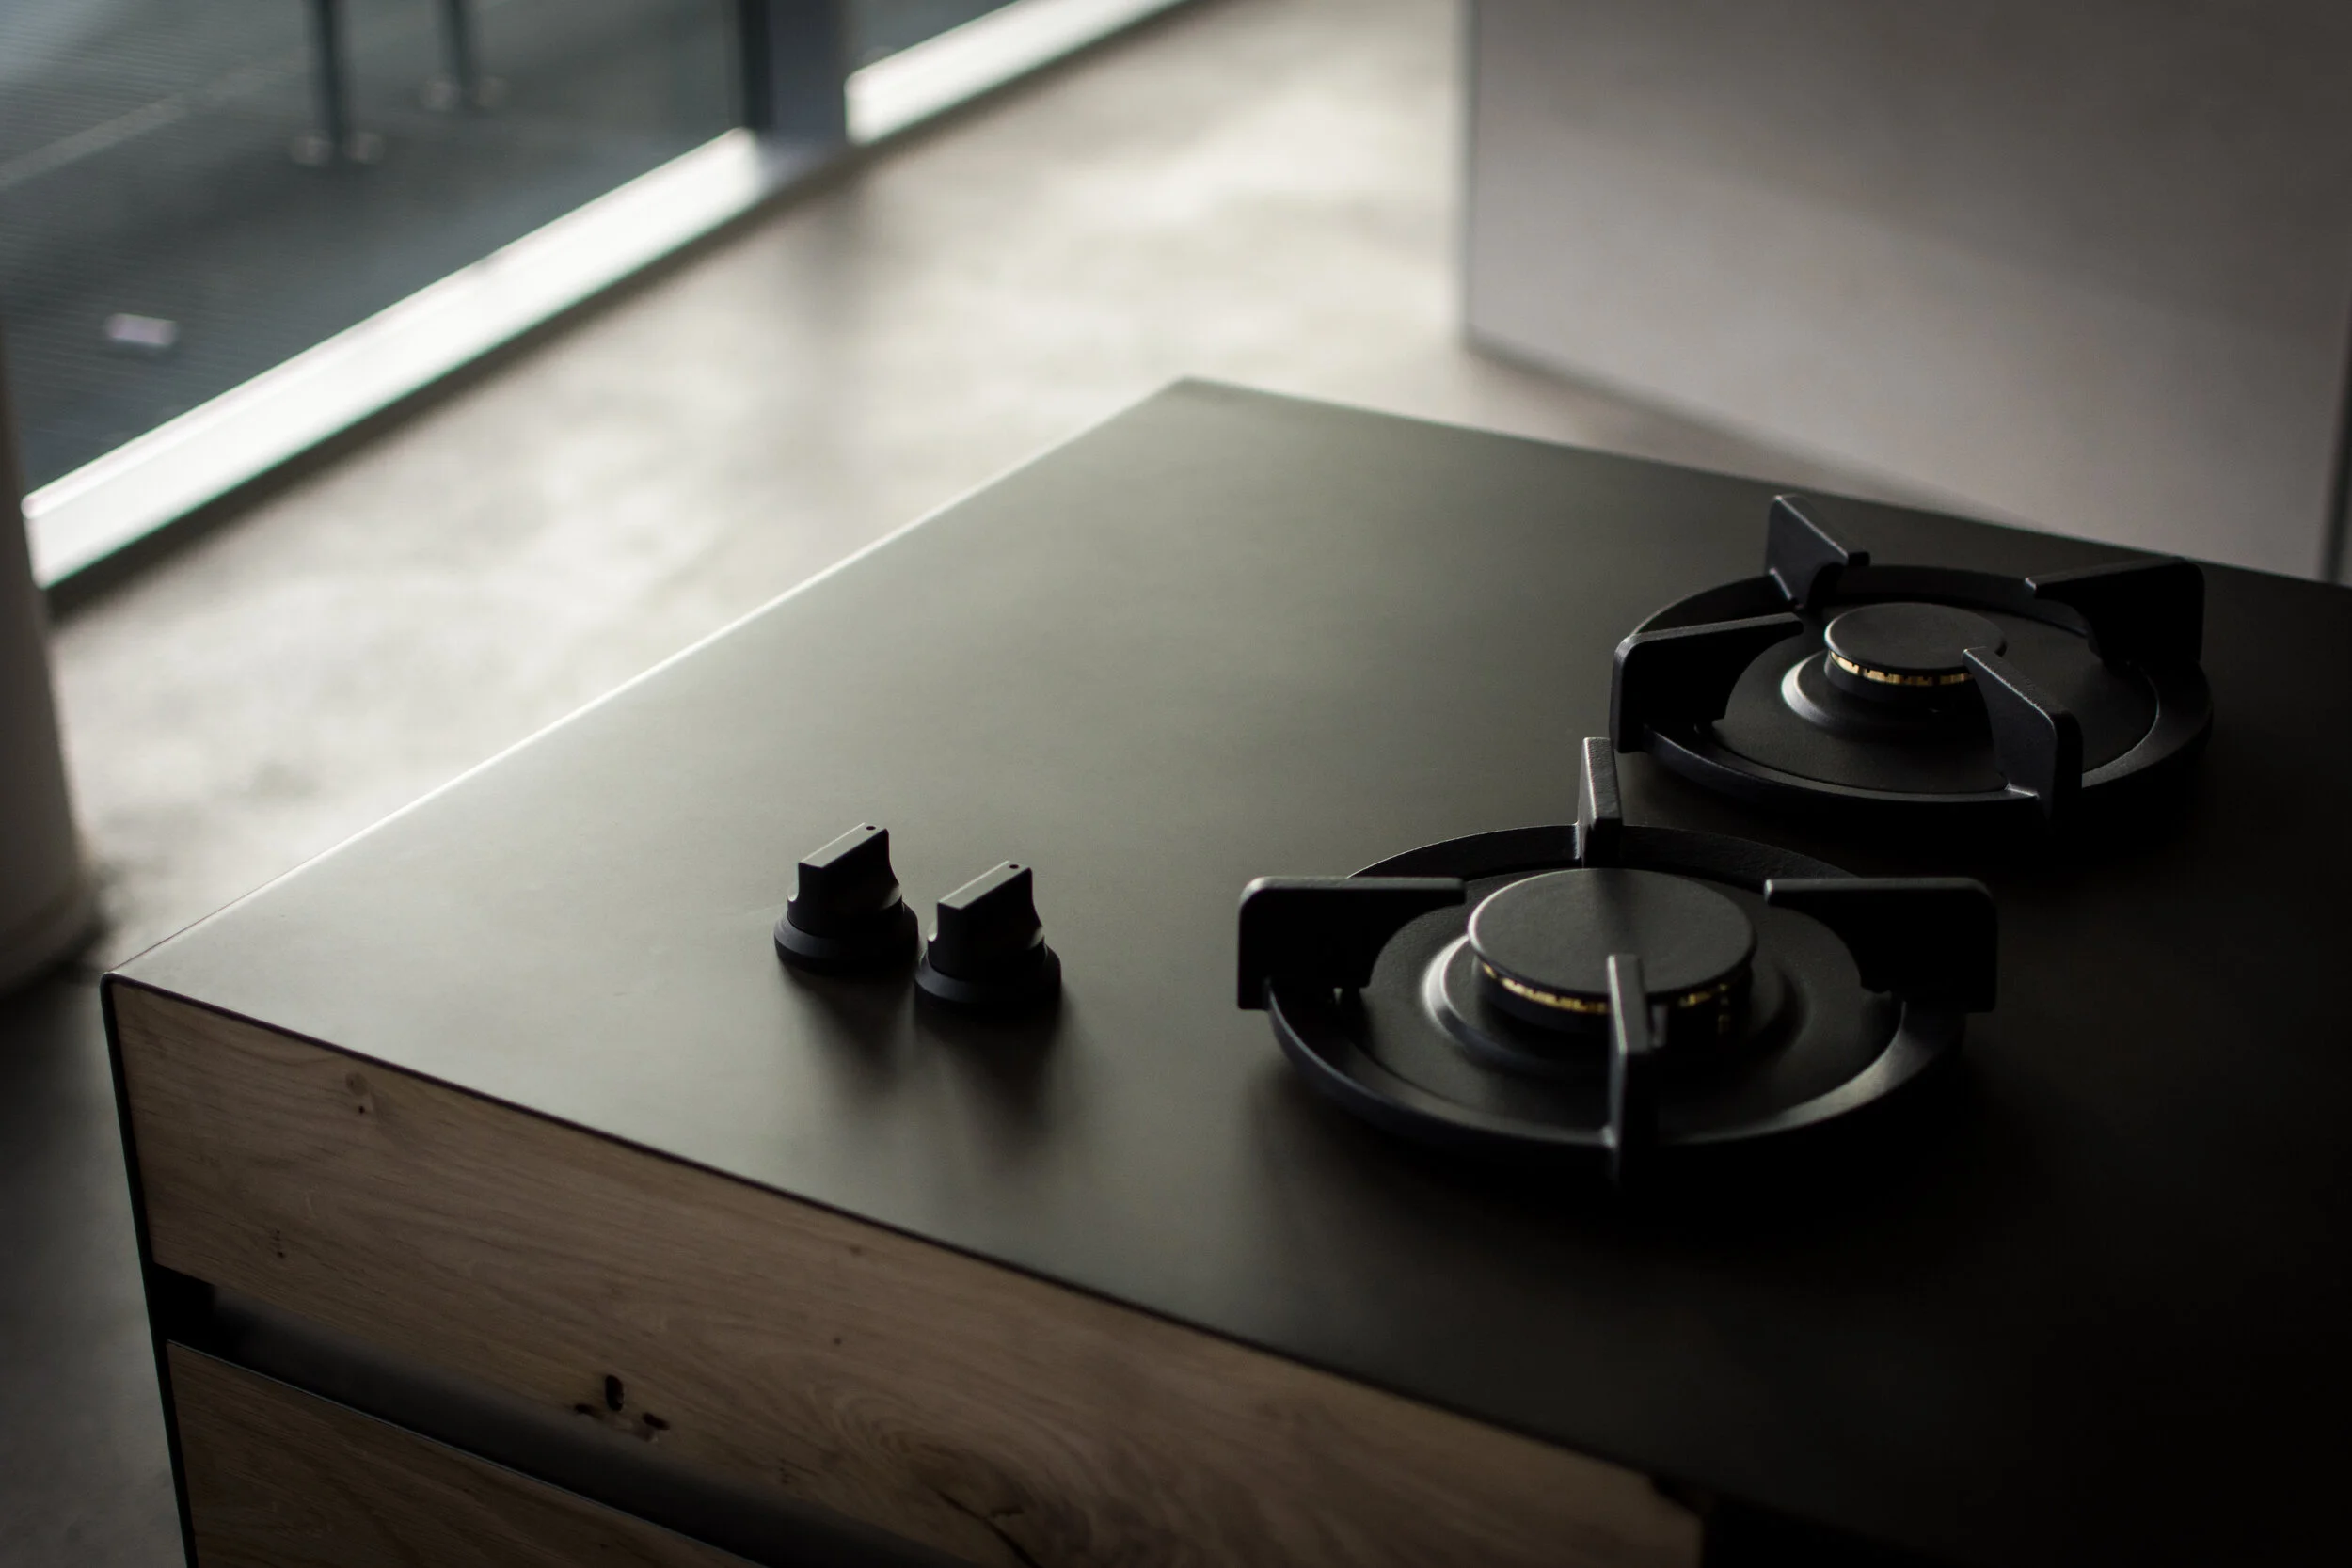
Cooking Hob/Stove
Most cooking stoves will be suitable for a Moka Pot, just bear in mind if you have an induction hob you may need a converter plate.
Grind Size
For your store top espresso maker, you will need a grind size somewhere in between espresso and filter coffee. This is quite a wide range however after you brew your coffee you can adjust your grind size depending on the brew time and taste.
Technique
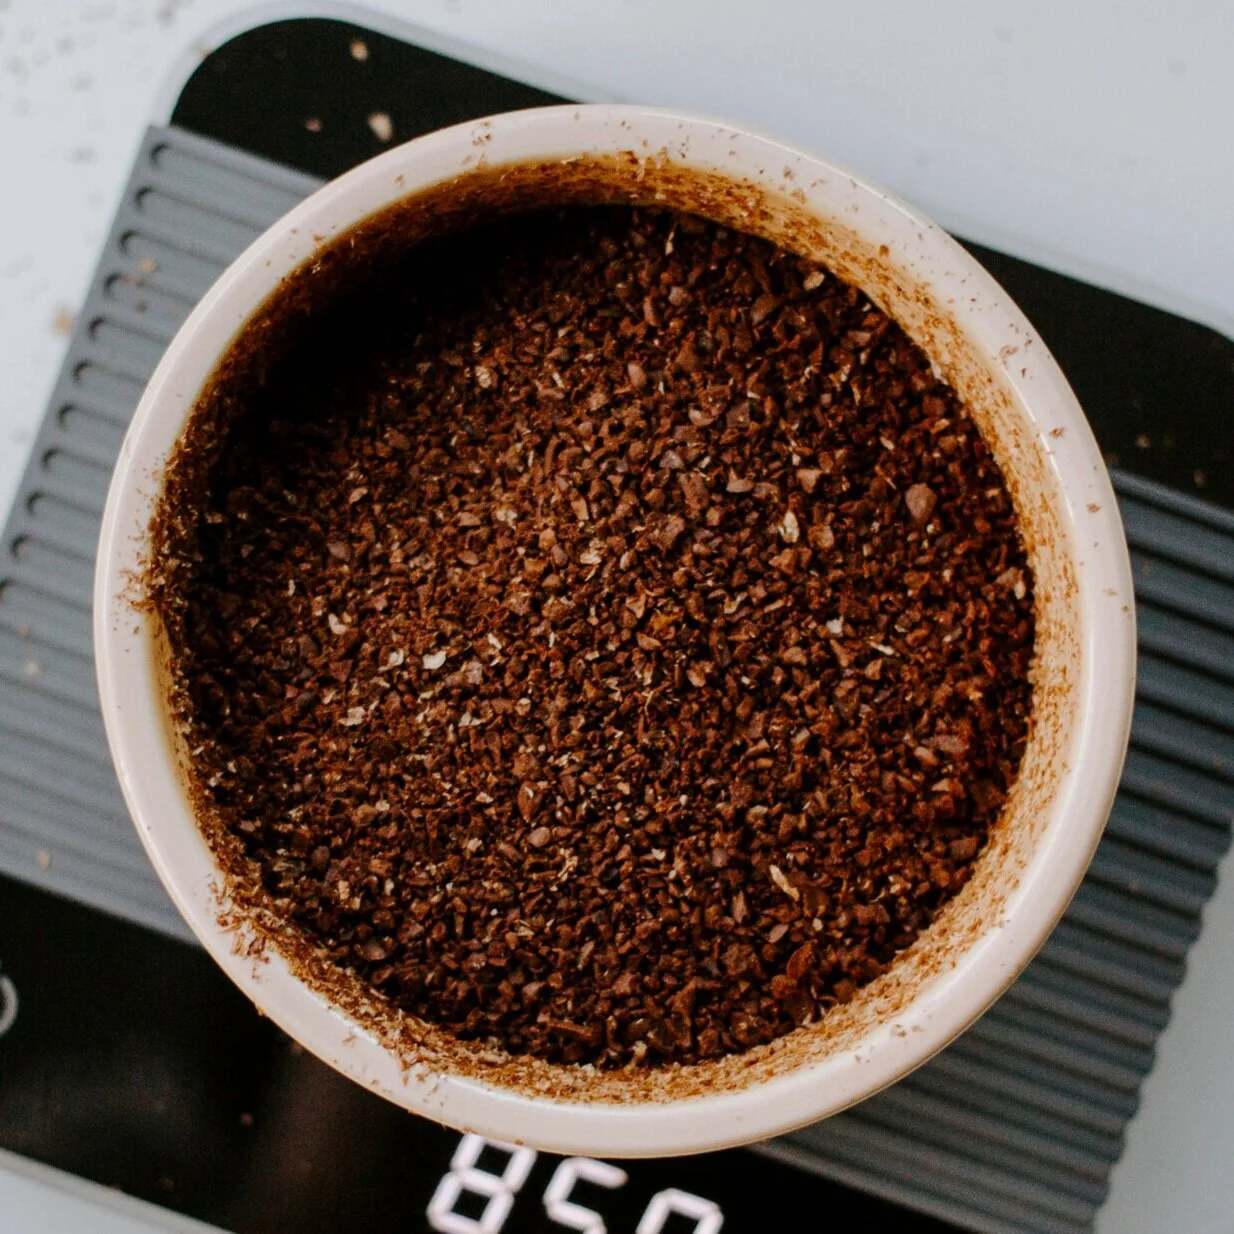
Step 1: Grind your coffee beans
Using your coffee grinder to grind your beans into a size that's not as fine as espresso but also not as coarse as filter coffee.
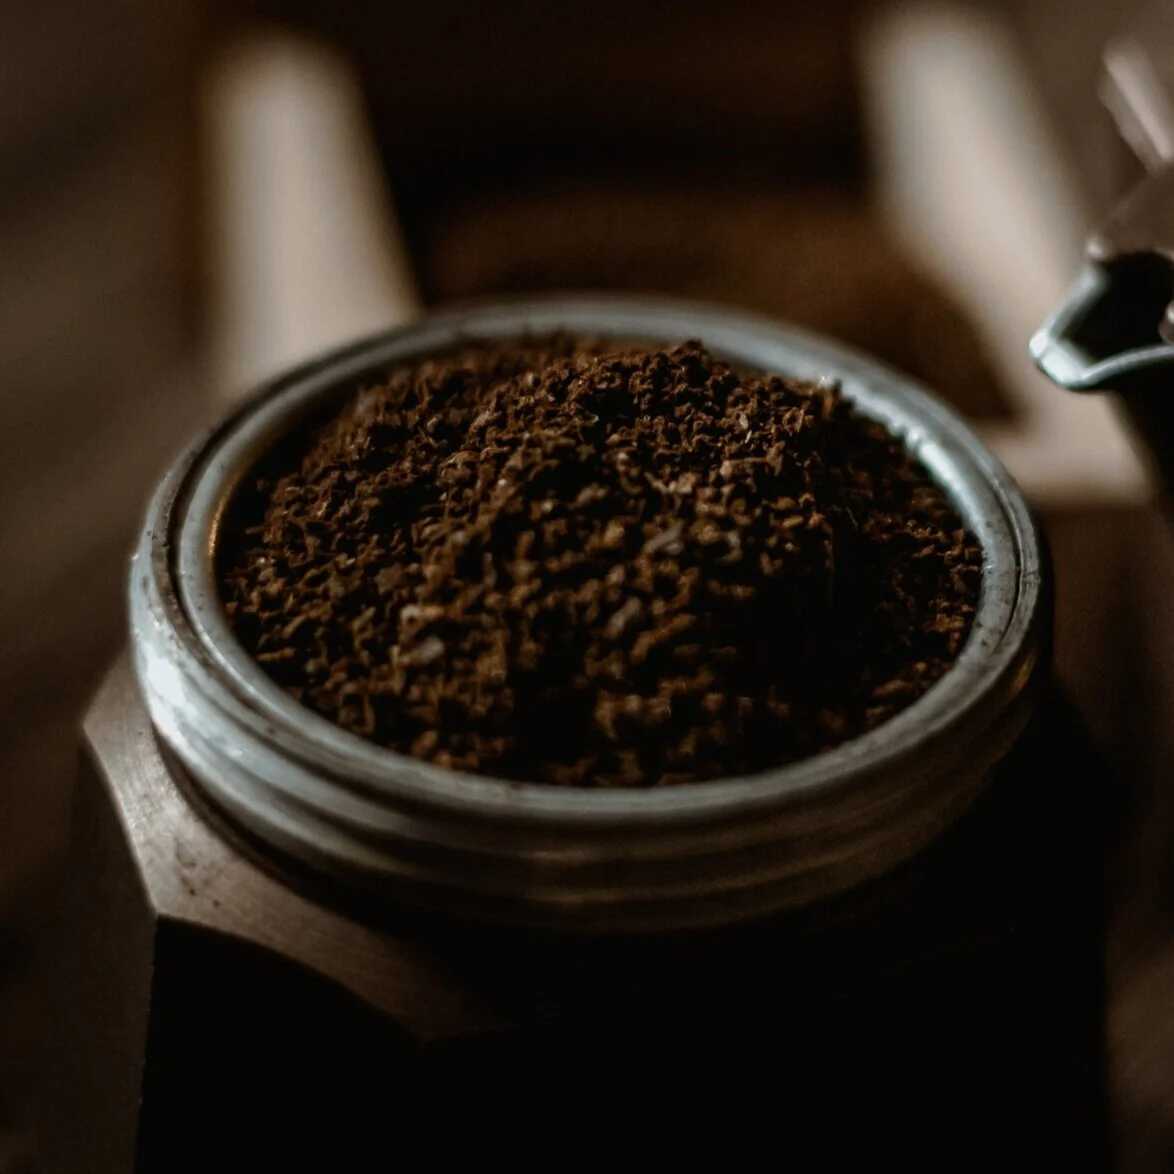
Step 2: Fill the grounds basket
Fill the coffee ground basket in your Moka pot but don't compress/tamp the grounds. You will want to fill the basket to pretty much the top and level them out.
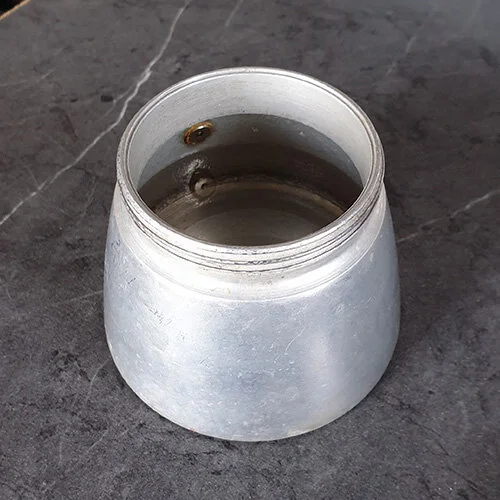
Step 3: Fill the bottom part with hot water
Next, you will need to pour freshly boiled water into the bottom section of the Moka pot. Fill up to just below the valve. It's important to use hot water to speed up the brewing process. If you use cold water, this will increase the time the water is in contact with the coffee grounds and will, therefore, over-extract the beans.
Step 4: Screw the sections together
Now that you've filled the bottom part of the Moka pot with water, insert the coffee grounds basket and then screw the top section in place. You may want to put a towel again the bottom part when screwing as it'll be very hot. Screw it tight enough so that no water can seep through but don't screw it too tight or this could damage the espresso maker.
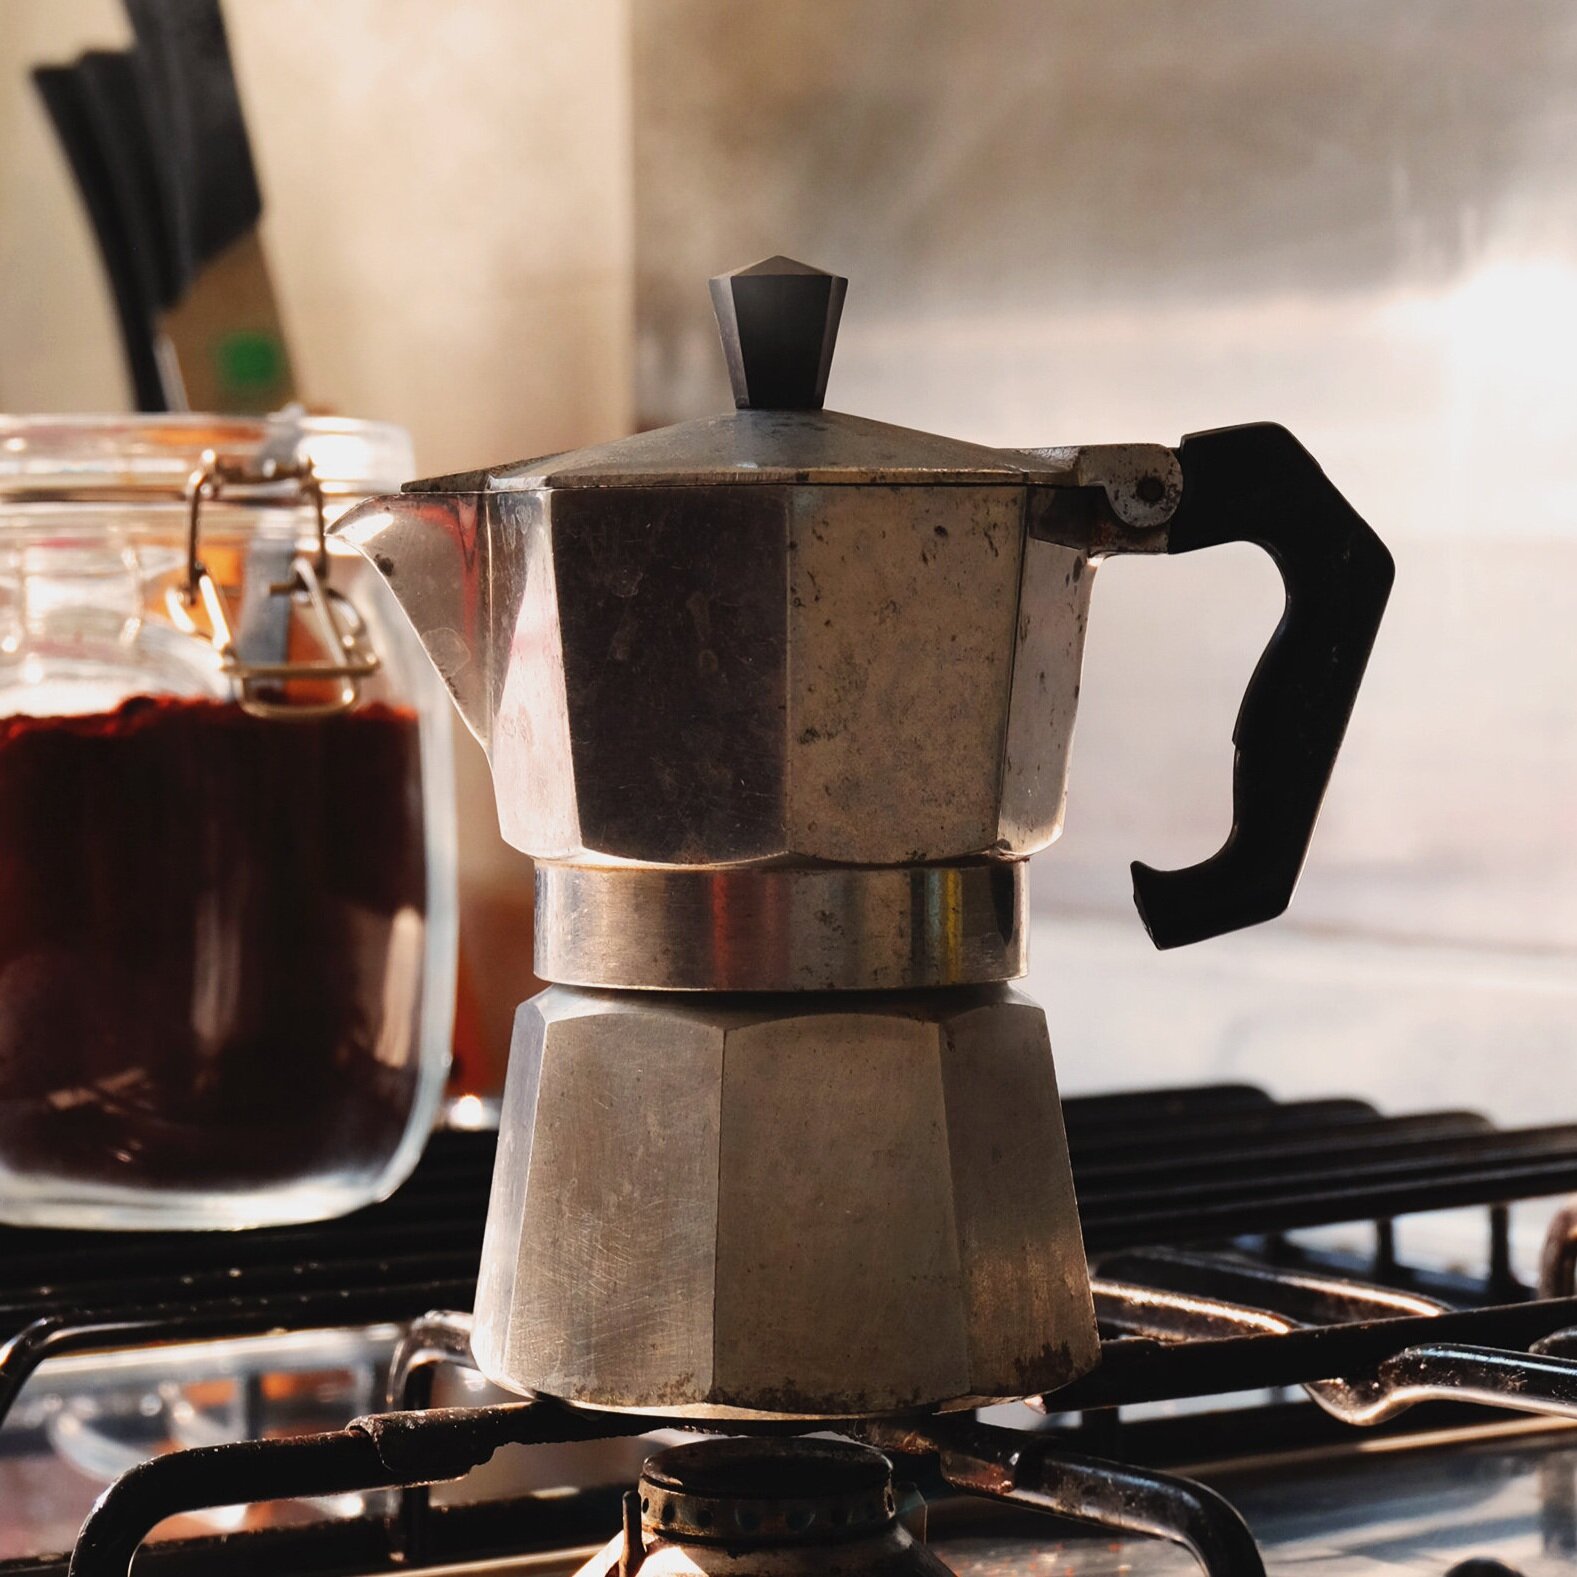
Step 5: Place the Moka pot on a stove or hob
Put the espresso maker on top of a gas stove or electric hob to heat the water. The stove should be set to a high heat.
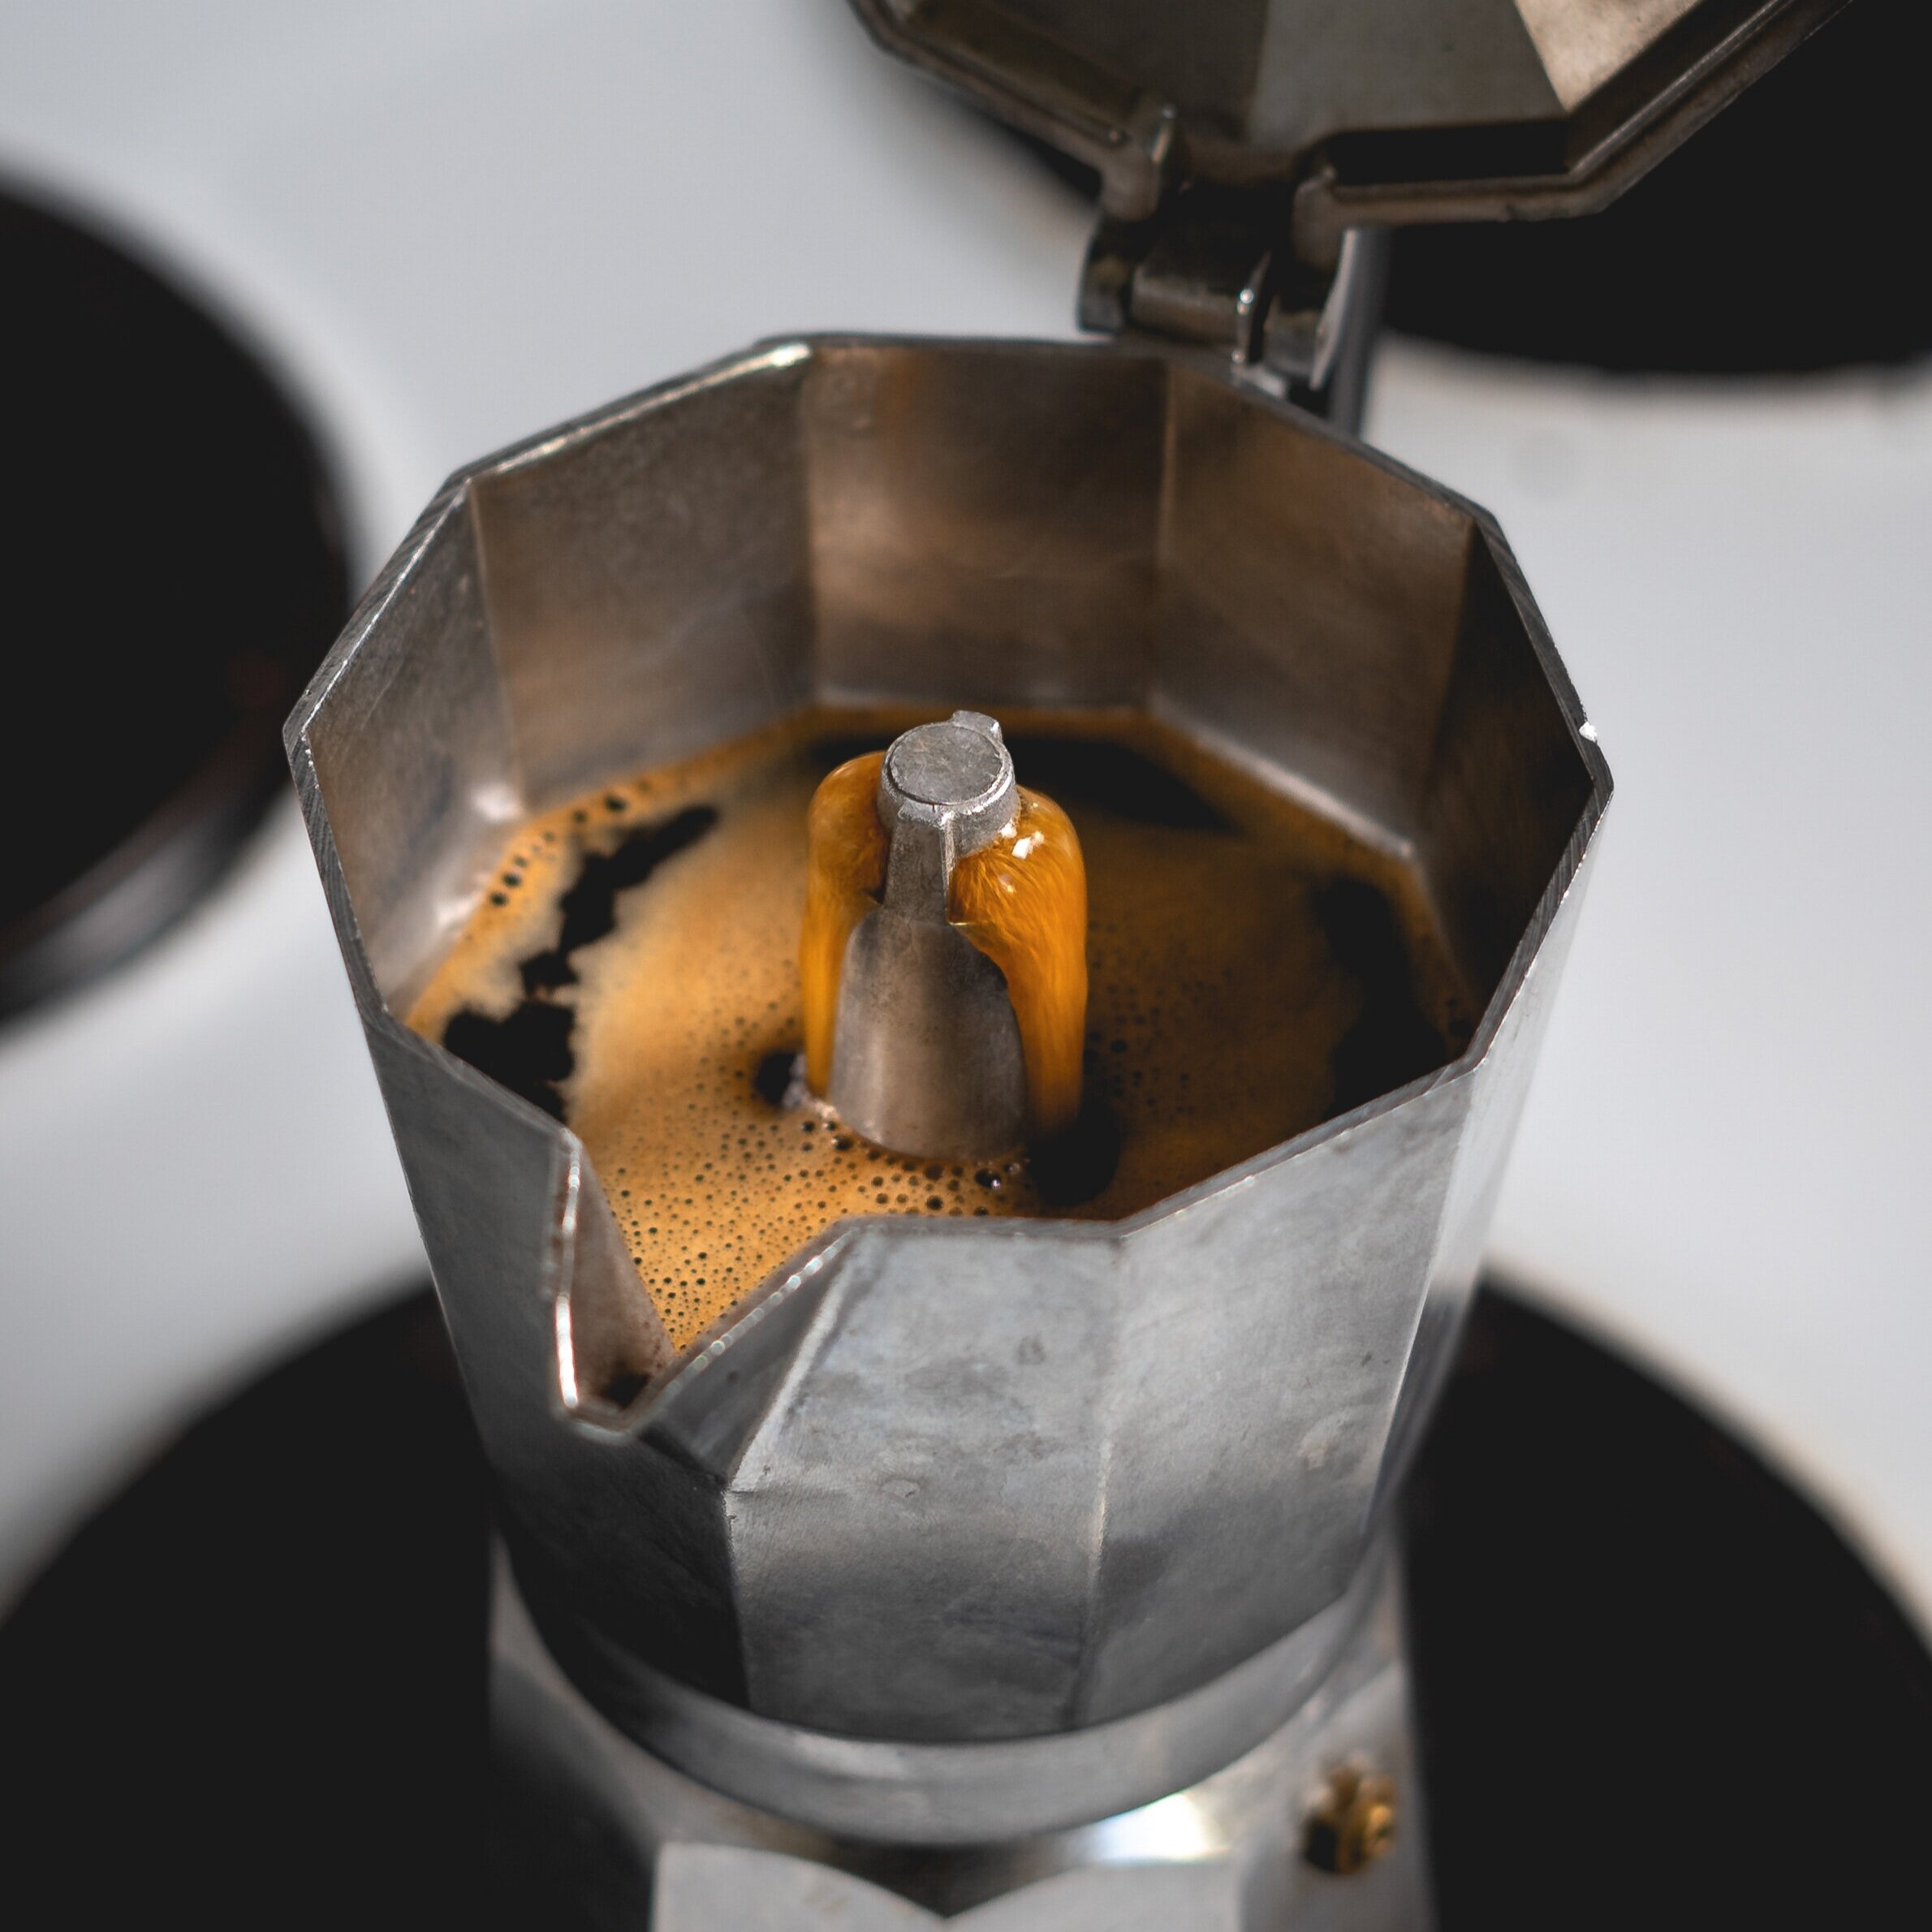
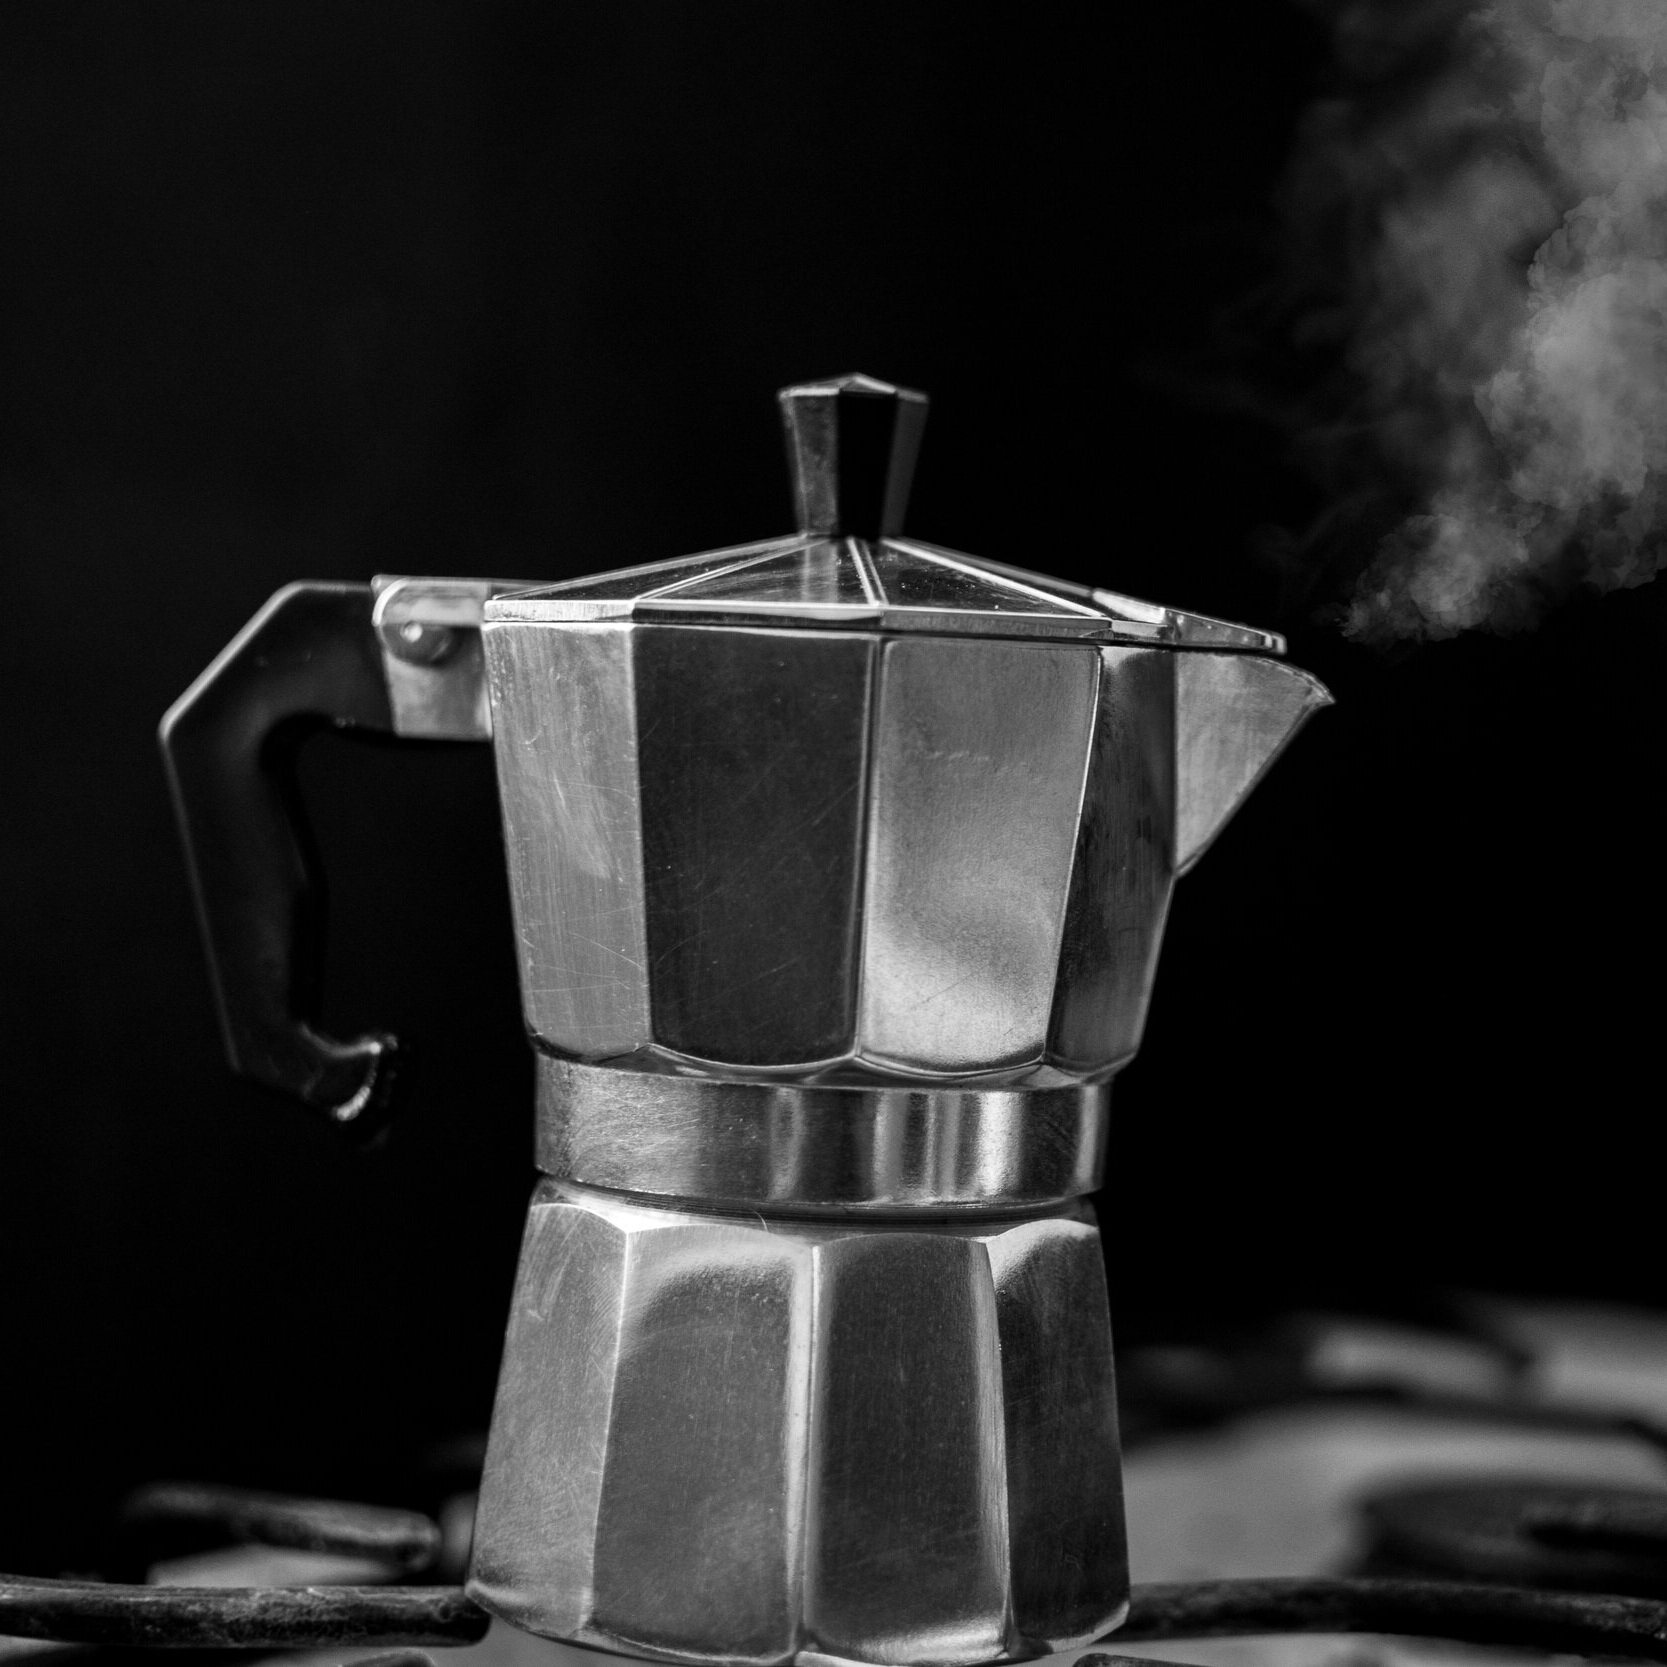
Step 6: Turn the heat off when it starts to bubble
As your coffee starts to brew, you will need to listen out for a gurgling/bubbling sound. When you hear this, turn the heat off and immediately cool the water down by running a cold tap against the bottom part of the Moka pot. This stops the brewing process which helps to avoid any bitterness in taste.
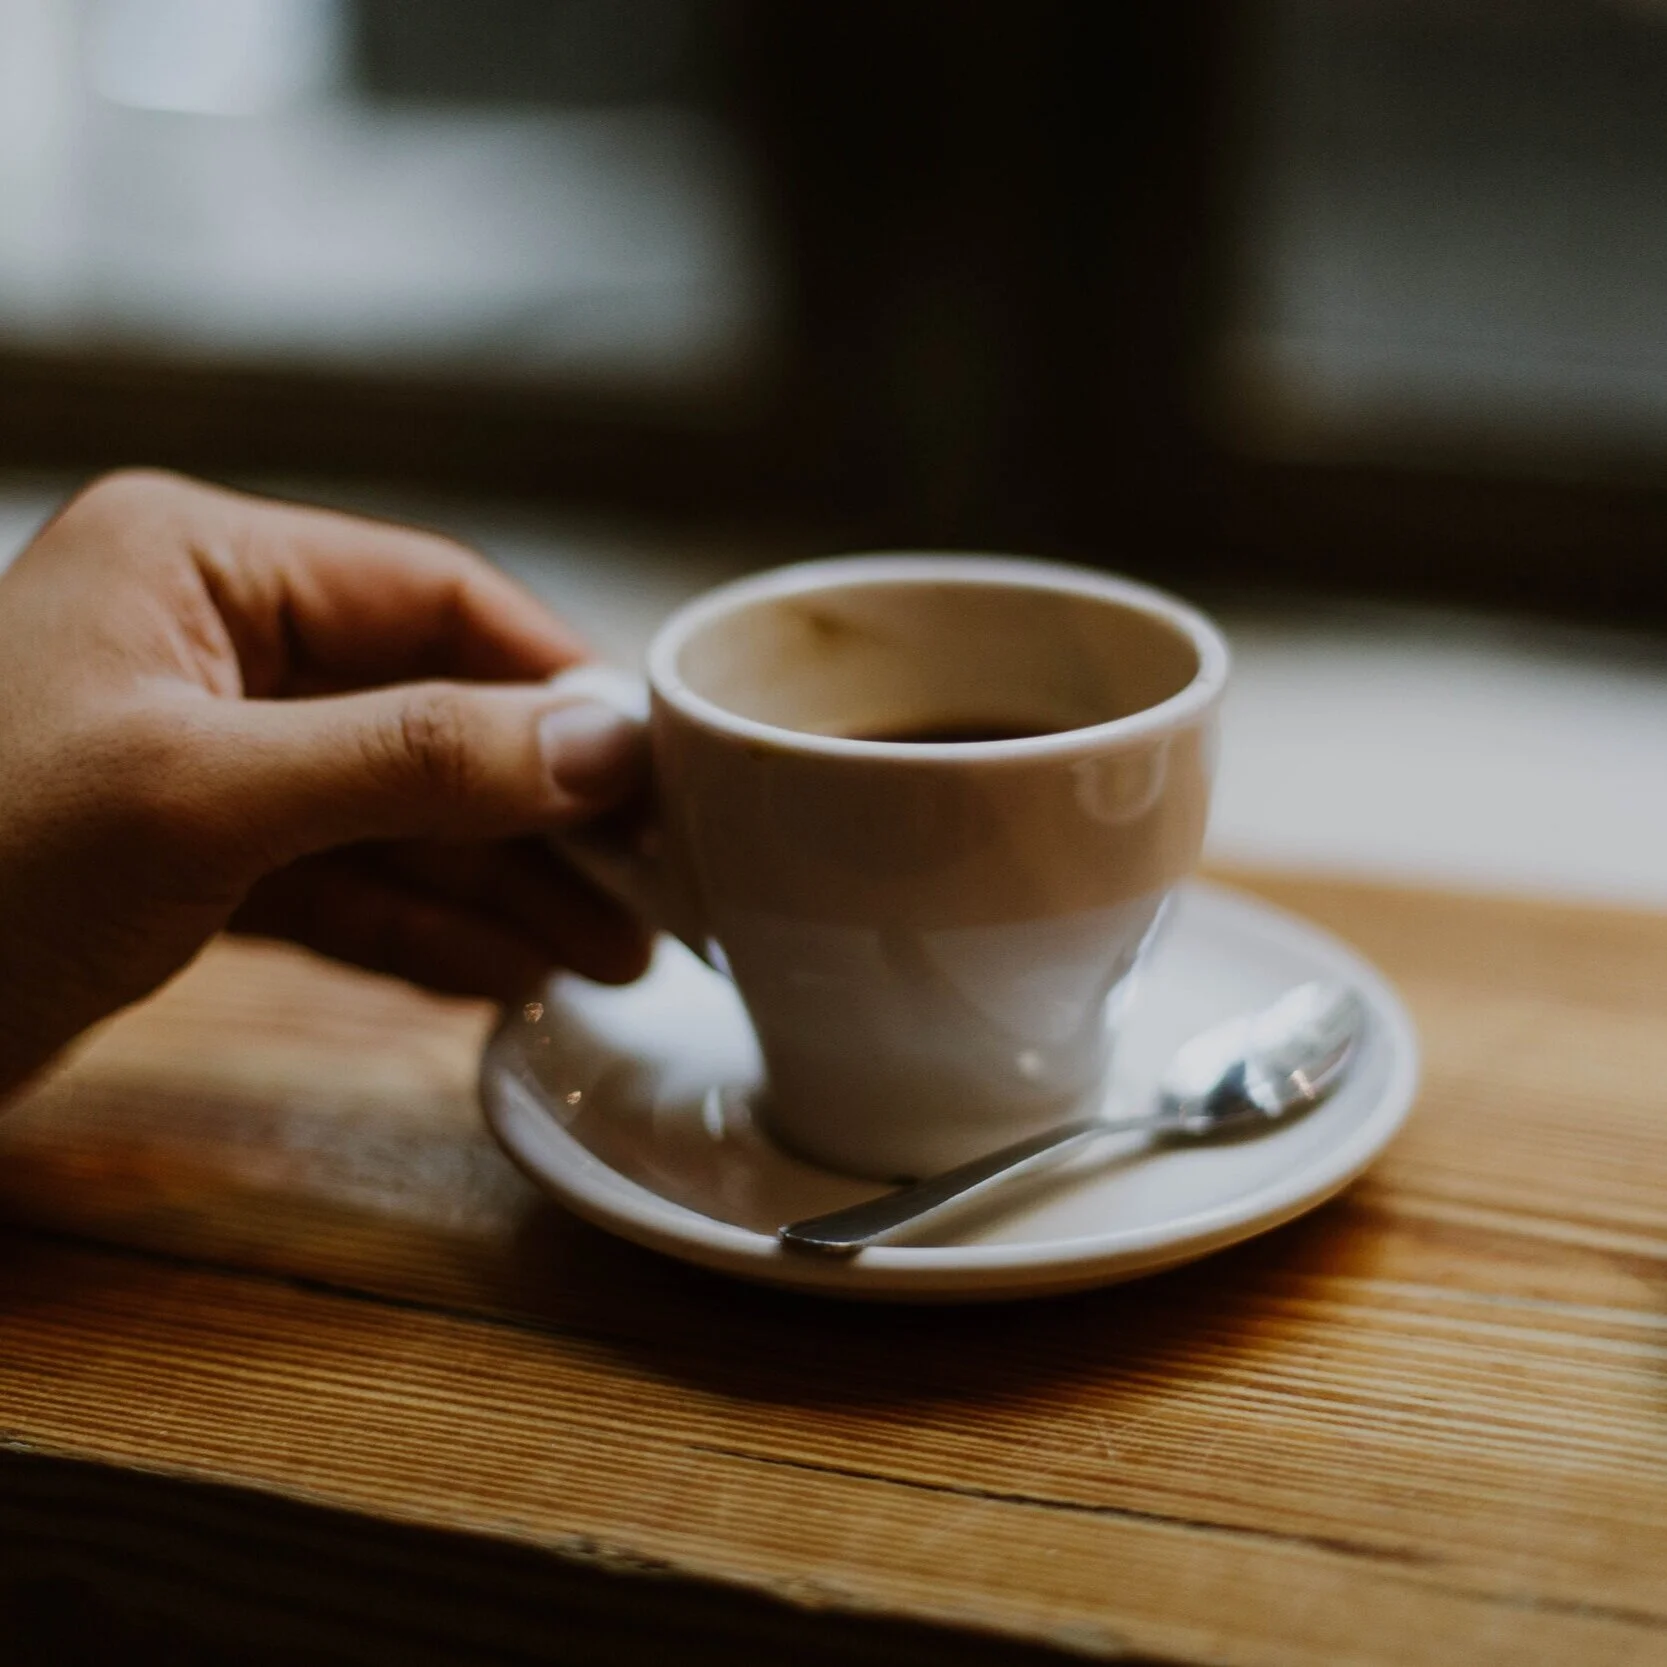
Step 7: Pour your coffee and enjoy
Now the coffee has been brewed you can pour this straight into your mug and enjoy your delicious Moka pot coffee.
Cleaning
Cleaning your stovetop espresso maker is very important to ensure it stays in good condition and you don't get any build-up of old coffee grounds affecting the flavour.
After you brew your coffee, rinse the coffee grounds out of the basket and wash all sections of the Moka pot with warm water. Remember to remove the rubber gasket and filter as this often gets a lot of coffee residue build-up. Use a washing up pad to wipe away any marks left from the coffee until it's clean.
When putting your Moka pot back together to store in your cupboard, don't screw the top part on too tight as this can damage the gasket. Just screw together loosely and put away for your next use.
If you follow these steps when using a Moka pot, you should be able to brew a delicious tasting coffee without any bitterness. If you do find that your coffee tastes bitter, you should check your Moka pot is clean and doesn't have any old coffee residue, or adjust the grind size to taste.


